A Step-by-Step Guide to Growing Your Own Cannabis Plants
- Blog
- A Step-by-Step Guide to Growing Your Own Cannabis Plants
lynette
Growing cannabis at home can be a rewarding experience, whether you’re cultivating it for medical purposes or simply out of curiosity. Here’s a straightforward guide to help you get started on your journey to growing your own cannabis plants.
Before you begin, it’s crucial to understand the legal regulations concerning cannabis cultivation in your area. Laws vary widely depending on your country and state/province, so make sure you comply with local regulations to avoid any legal issues.
Selecting the right location for your cannabis plants is key to their success. Indoors, you can use a dedicated grow room, closet, or tent. Outdoors, choose a spot with ample sunlight and good drainage.
Ensure your chosen space provides enough room for your plants to grow without overcrowding.
You’ll need a few essential tools and equipment to grow cannabis effectively. Here are some of them:

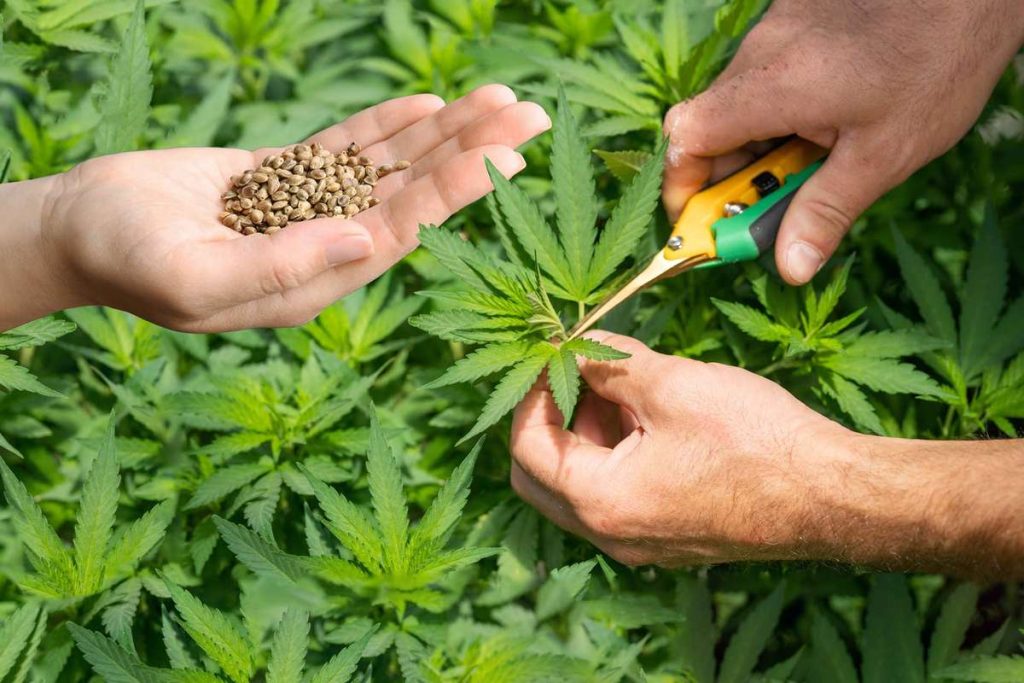
Choose between cannabis seeds or clones (cuttings from a mature plant). Seeds offer genetic diversity, while clones ensure consistency with the parent plant. Select a strain that suits your needs, whether you prefer high THC content, CBD, or specific flavors and effects.
If you’re starting from seeds, germination is the first step.
You can germinate seeds using various methods, such as placing them between damp paper towels or directly planting them into small pots with moist soil. Keep them warm (around 70-85°F) and moist until they sprout.
If using clones, carefully transplant them into your chosen growing medium once roots have developed. Handle them gently to avoid damaging the roots, and ensure they receive adequate water and light after transplanting.
Lighting is crucial for cannabis growth. Indoors, set up your grow lights on a timer to mimic natural sunlight cycles (18-24 hours of light in the vegetative stage and 12 hours of light in the flowering stage).
Outdoors, ensure your plants receive at least 6-8 hours of direct sunlight daily.
Water your plants when the top inch of soil feels dry. Avoid overwatering, which can lead to root rot, and ensure good drainage to prevent waterlogged soil.
Throughout the growth cycle, monitor your plants closely. Adjust nutrient levels according to their growth stage – higher nitrogen during vegetative growth, and more phosphorus and potassium during flowering.
Check for signs of nutrient deficiencies or pests and address them promptly.
After several weeks of vegetative growth (typically 4-8 weeks), induce flowering by adjusting your light cycle to 12 hours of light and 12 hours of darkness. This change signals the plants to start producing flowers (buds).

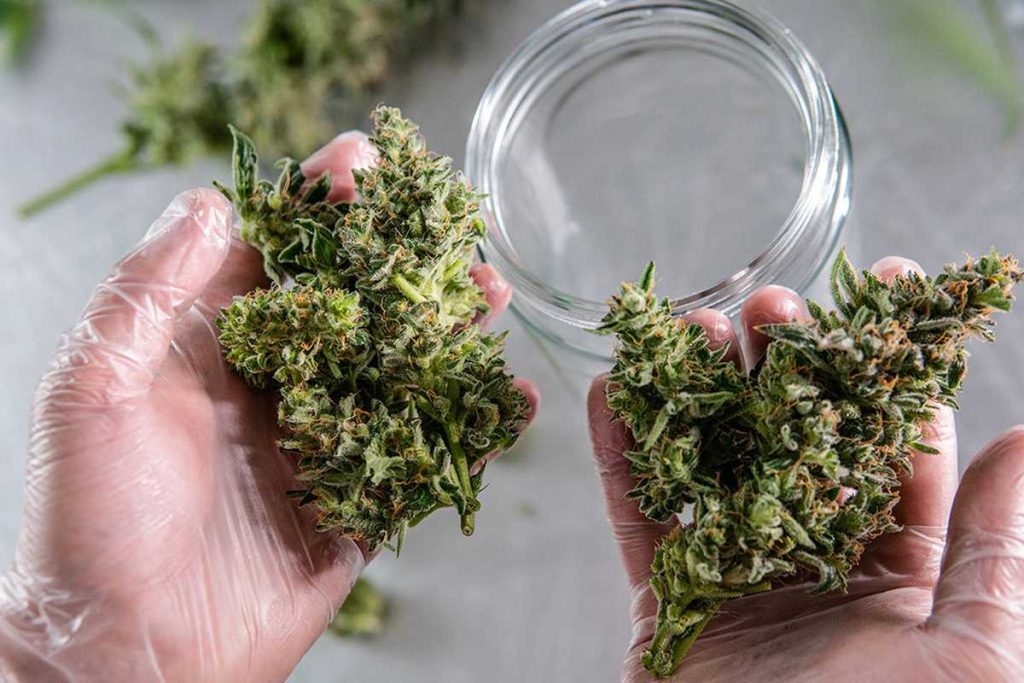
Harvest your cannabis plants when the flowers are mature and ripe. This timing varies by strain but is generally indicated by the appearance of trichomes (small resin glands). Trim the buds carefully, removing excess leaves.
Curing is the final step to enhance flavor and potency. Place trimmed buds in glass jars in a cool, dark place, burping them daily to release excess moisture. After 2-4 weeks, your cannabis will be ready to enjoy.
Once cured, your homegrown cannabis is ready for consumption. Remember to consume responsibly and in compliance with local laws. Experiment with different strains and growing techniques to refine your skills and cultivate the best possible yield.
By following these steps and staying attentive to your plants’ needs, you can successfully grow your own cannabis at home. Enjoy the process and the rewards of cultivating your own supply of this versatile plant.
© Copyright 2026 Cultivating Homegrown Organic Marijuana