A Comprehensive Guide to Growing Your Own Cannabis Indoors
- Blog
- A Comprehensive Guide to Growing Your Own Cannabis Indoors
lynette
Growing cannabis indoors can be a rewarding and enjoyable experience. It allows you to control the environment and optimize conditions to produce high-quality plants. Whether you’re cultivating for medical use, recreational use, or simply as a hobby, this guide will walk you through the basics of indoor cannabis cultivation in a way that’s easy to understand.
Indoor growing offers several advantages over outdoor cultivation.
Firstly, you have complete control over the growing environment, including light, temperature, humidity, and ventilation. This control can lead to higher yields and better-quality cannabis.
Additionally, growing indoors protects your plants from pests, diseases, and adverse weather conditions. It also offers privacy, which can be important for those living in areas where cannabis cultivation is restricted or frowned upon.

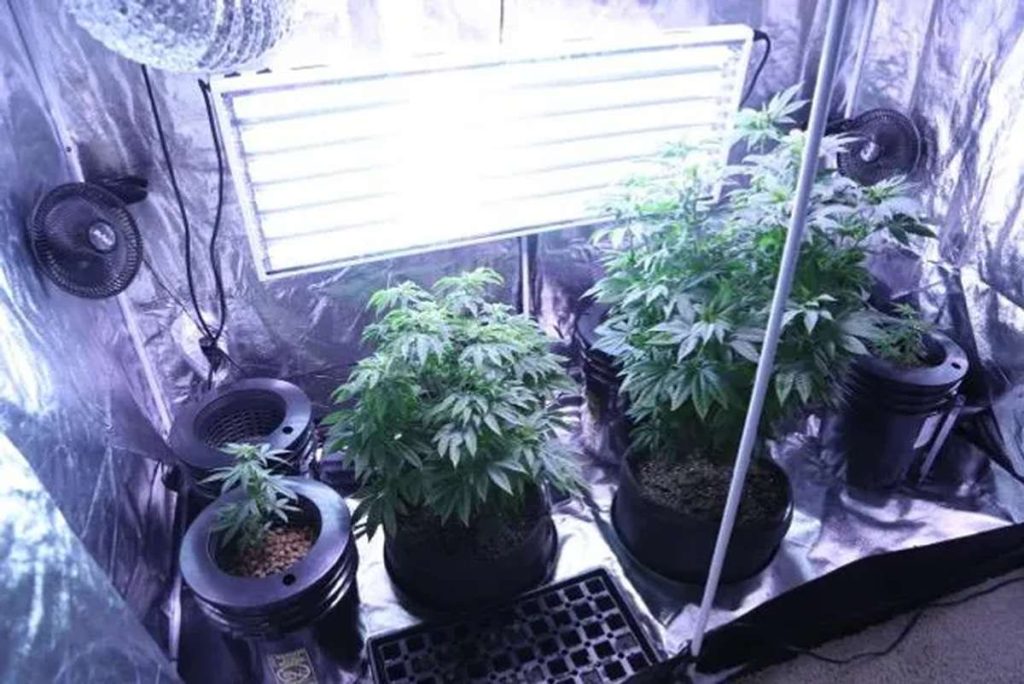
The first step in growing cannabis indoors is setting up a suitable grow space. This space can range from a small closet or cabinet to a dedicated room. Here are some key considerations:
Choosing the right cannabis strain is essential for a successful grow. There are hundreds of strains available, each with unique characteristics. As a beginner, you might want to choose a strain that is known for being easy to grow, such as Northern Lights or Blue Dream.
Autoflowering strains are also a good option because they switch from the vegetative stage to the flowering stage automatically, making the process simpler.
The next step is to decide on a growing medium and containers for your plants. Common growing mediums include soil, coco coir, and hydroponic systems. Let’s look at what each of them has to offer:
You also want to choose containers that are at least 3-5 gallons in size to give your plants enough room to grow. Fabric pots are a great option because they allow for better root aeration and prevent overwatering.
Germination is the process of getting your seeds to sprout. Here’s a simple method you can follow:
Once your seeds have sprouted, it’s time to plant them in your chosen medium. Here’s what you need to do:
The flowering stage is when your plants start producing buds. Change the light cycle to 12 hours of light and 12 hours of darkness each day. This mimics the natural changes in daylight and signals the plants to start flowering.
Switch to a nutrient solution designed for flowering. These solutions typically have higher levels of phosphorus and potassium to support bud development. Then, keep an eye on your plants for signs of pests or nutrient deficiencies. Adjust the light height to prevent light burn, and maintain proper temperature and humidity levels.
After several weeks in the flowering stage, your plants will be ready to harvest. Make sure to use a magnifying glass to check the trichomes (tiny crystals on the buds). When most trichomes are milky white with some turning amber, it’s time to harvest.
Cut the branches and trim off the larger fan leaves. Hang the branches upside down in a dark, well-ventilated room to dry for about a week. Once the buds are dry, trim them off the branches and place them in glass jars. Open the jars daily for the first week to release moisture, then seal and store them in a cool, dark place for a few more weeks to cure.
This process enhances the flavor and potency of your cannabis.
Growing cannabis indoors can be a fulfilling and educational experience. By following these steps and paying attention to the needs of your plants, you can produce high-quality cannabis in the comfort of your own home.
Remember, patience and attention to detail are key to successful growth. Happy gardening!
© Copyright 2026 Cultivating Homegrown Organic Marijuana