A Guide to Setting Up a Top-Fed DWC Cannabis System
- Blog
- A Guide to Setting Up a Top-Fed DWC Cannabis System
lynette
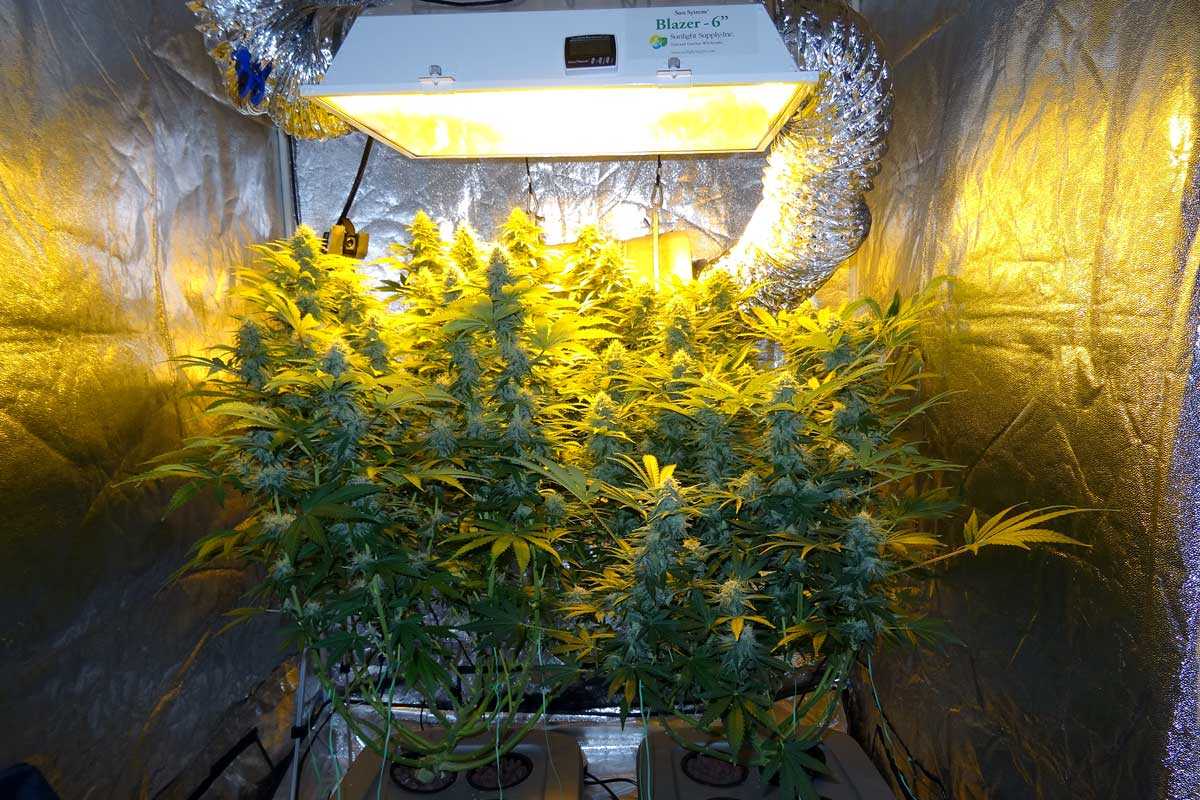
Growing cannabis using a Deep Water Culture (DWC) system can be highly effective and rewarding for both beginners and experienced growers. If you want to set up one on your property, then this guide will walk you through the steps you need to ensure your plants thrive.
Before we begin, let’s first have a look at what a top-fed DWC system is.
DWC, which is short for Deep Water Culture, is a hydroponic method where plants grow directly in a nutrient-rich water solution. In a Top-Fed DWC system, oxygen and nutrients are delivered directly to the roots, promoting rapid growth and healthy development.
In case you’re wondering, growing cannabis in a Top-Fed DWC system offers several advantages. These are as follows:
Before you start setting up your Top-Fed DWC system, make sure you gather the following components:
Once you have prepared the essential components, it’s time to get started. Make sure to follow these steps:
Choose a clean, well-ventilated area with access to electrical outlets. Ensure the environment is suitable for cannabis growth, including temperature and humidity control.
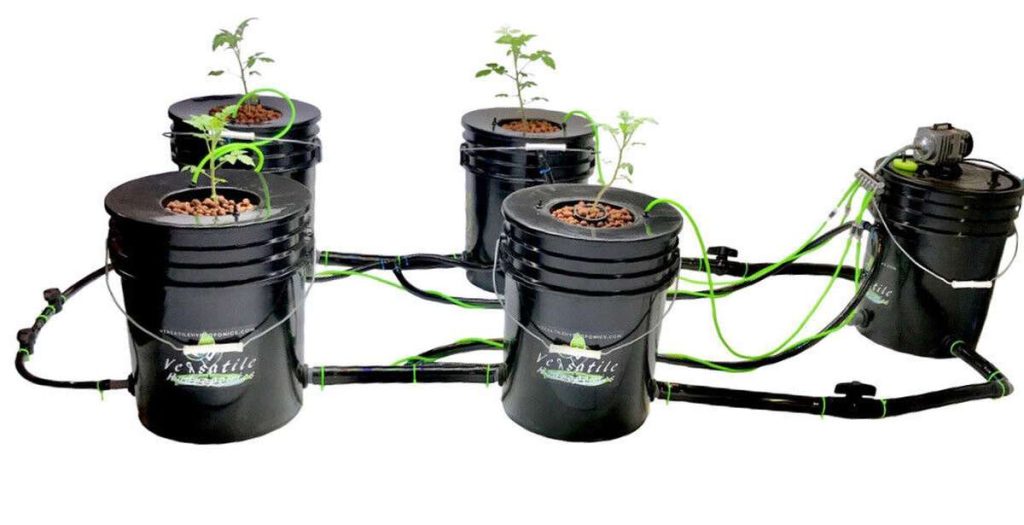
Choose a food-grade plastic or glass reservoir large enough to hold sufficient water for your plants. Install the air pump and air stones to ensure proper oxygenation of the nutrient solution. Mix the nutrient solution with water in the reservoir according to manufacturer instructions, and use a pH testing kit to adjust the pH level to around 5.5 to 6.5, ideal for cannabis growth.
Fill each net pot with a growing medium like clay pellets or Rockwool cubes. Insert each net pot into the holes of a floating raft or directly into the reservoir lid, ensuring the bottom of the net pot is submerged in the nutrient solution.
Position the water pump at the bottom of the reservoir and connect the tubing to a manifold or drip ring positioned above the net pots.
Adjust the flow rate of the water pump to ensure a steady stream of nutrient solution is delivered to the roots of your plants.
Carefully transplant cannabis seedlings or clones into each net pot, ensuring the roots are placed into the growing medium. Place your DWC setup under appropriate grow lights with a timer set to mimic natural daylight cycles.
Regularly test and adjust the pH and nutrient levels in the reservoir to maintain optimal conditions for plant growth. Top up the reservoir with fresh water and nutrient solution as needed to maintain the correct level.
As your plants grow, prune excess foliage and train branches to maximize light exposure and airflow.
After a few months of growth, your cannabis plants will be ready for harvest. Harvesting times vary depending on the strain and growing conditions.
Setting up a Top-Fed DWC cannabis system involves more than just assembling equipment. Consider the following additional tips to enhance your growing experience:
Setting up a Top-Fed DWC cannabis system can be a rewarding way to grow high-quality cannabis at home.
By following the steps and tips we mentioned above, you can create an efficient and productive growing environment for your plants. Experiment with different strains and techniques to find what works best for your setup, and enjoy the journey of cultivating your own cannabis.
Whether you’re a beginner or a seasoned grower, DWC offers a versatile and effective method for achieving impressive results with your cannabis cultivation efforts.
© Copyright 2026 Cultivating Homegrown Organic Marijuana